Migrating from BigCommerce to Shopify involves more than transferring products and customer records. The two platforms organize eCommerce data differently, which can affect product variants, category structures, customer groups, order statuses, and SEO URLs. Understanding these differences before migration helps merchants identify potential mapping issues and plan the necessary adjustments.
Shopify is not a one-to-one replacement for BigCommerce: each platform has its own strengths and weaknesses, particularly in data organization. This BigCommerce to Shopify migration guide explains what needs mapping, how to run a migration with Next-Cart, and what to check before customers start using the new store.
Start with the supported data and conditions on Next-Cart’s BigCommerce to Shopify migration page. Use the examples below to build a mapping plan for your own catalog, customers and order history.
What changes during a BigCommerce to Shopify migration?
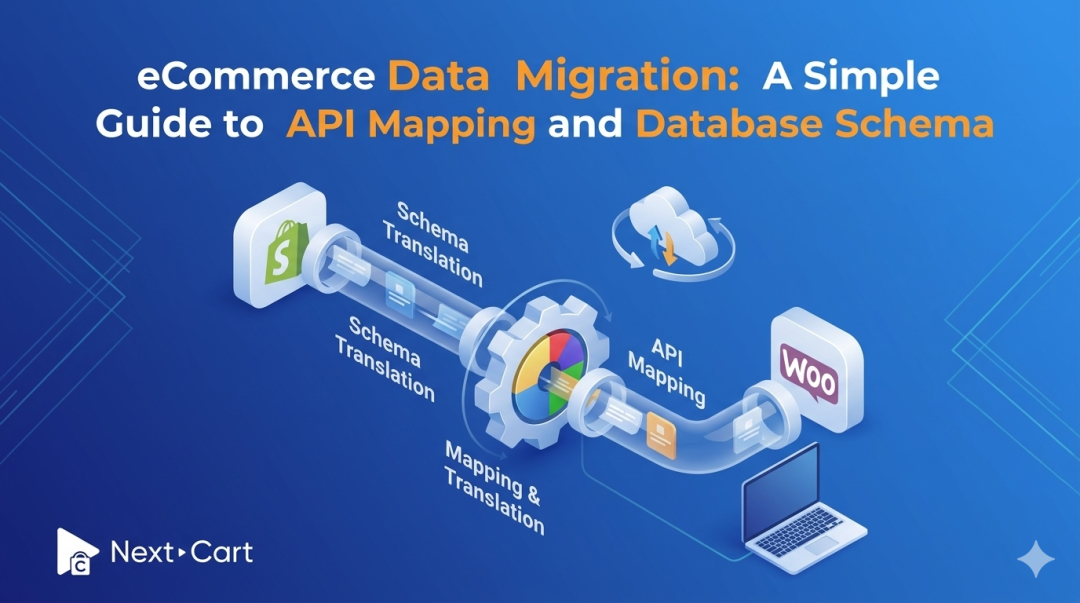
Data mapping defines where each source field and relationship belongs in the destination. For BigCommerce data migration, this means deciding not only where a product description goes, but also which variant owns its SKU, which collection contains the product, and how an old order links to its customer.
A matching record count is useful, but it does not prove that those relationships work. Agree on the intended Shopify result before running the full transfer.
Here is a practical mapping plan for BigCommerce data in Shopify.
|
BigCommerce data |
Shopify destination / decision |
What to validate |
|---|---|---|
|
Product variants and SKUs |
Corresponding variants; handle modifiers separately |
SKU, option values, price and stock stay aligned. |
|
Categories |
Collections plus a separately configured menu |
Product membership and browsing paths. |
|
Customer groups |
Agreed tags, metafields or B2B setup |
Group meaning, pricing and access behavior. |
|
Orders |
Historical orders with reviewed status mapping |
Customer links, line items, totals and status. |
|
Blog posts and pages |
Chosen blogs, articles and pages |
Images, formatting, metadata and internal links. |
|
SEO URLs |
Relevant destination pages and redirect map |
Old paths resolve to the correct new pages. |
Products, variants and modifier options
BigCommerce distinguishes inventory-bearing variants from modifiers, such as engraving text or optional customization. Its Catalog API documents a limit of 600 SKUs per product. Modifier combinations do not have their own tracked inventory.
Shopify supports up to 2,048 variants and three options per product. A larger variant allowance does not make every BigCommerce configuration a direct match: customization inputs and pricing rules still need a separate implementation decision.
For example, a jacket might have Color and Size variants, with SKU TJ-NV-M for Navy / Medium. Keep that SKU attached to the corresponding Shopify variant. An optional embroidered name should be handled as a customization input, rather than creating a stock-tracked variant for every possible name.
Confirm how the chosen Shopify theme or app captures that input, applies any extra charge and passes it into the order. Check app and theme compatibility with larger variant catalogs. For digital products, plan the download-delivery setup separately from migrating product records.

Sources: BigCommerce product variants and modifiers documentation; Shopify Help Center - Adding variants.
Categories, collections and storefront navigation
BigCommerce’s category hierarchy and Shopify’s collections are not interchangeable navigation structures. A source path such as Clothing → Jackets → Rain Jackets needs both a destination collection and a menu decision.
You might create a Rain Jackets collection, assign the appropriate products, then place its link under Clothing → Jackets in the Shopify menu. A product can belong to several collections; that does not automatically recreate the original category tree, breadcrumb trail or category landing pages.
- Product membership: Check which products belong in each destination collection.
- Menu structure: Rebuild the browsing paths shoppers use on desktop and mobile.
- Landing pages: Keep useful category content and link old category URLs to their closest replacement.
|
Aspect |
BigCommerce categories |
Shopify collections |
Migration action |
|---|---|---|---|
|
Structure |
Parent and child categories form a hierarchy. |
Collections group products; they do not form the same category tree. |
Map each useful category to a collection or landing page. |
|
Product membership |
Products are assigned to categories. |
Use manual membership or smart collection rules. |
Check product assignments; test rule-based results. |
|
Navigation |
Category hierarchy provides the basis for browsing paths. |
Menus organize links to collections and other pages. |
Rebuild and test desktop and mobile menu paths. |
|
Example |
Clothing → Jackets → Rain Jackets. |
Rain Jackets collection, linked under Clothing → Jackets in the menu. |
Preserve the browsing journey through menu configuration. |
|
URLs and SEO |
Category pages can use customized paths. |
Collection pages use /collections/ handles. |
Map old paths to relevant new pages; validate redirects and metadata. |
Categories vs. collections: what changes after migration
Customer groups and account access
Treat customer profile data and customer-group behavior as separate tasks. A group name retained in a tag or metafield can help identify customers, but it does not by itself recreate wholesale pricing, purchase permissions or access restrictions.
For example, importing a “Wholesale” label is only the first step. Test the intended Shopify pricing and access setup with an eligible customer and an ordinary retail customer. If your store uses B2B company accounts, agree on company and contact mapping as a separate part of the scope.
Also plan how imported customers will sign in. Do not assume existing passwords transfer with their profiles. Check the destination account configuration and prepare appropriate customer communication before launch.
Orders, payment status and fulfillment status
An order’s operational meaning matters more than a similar-looking status label. BigCommerce’s overall status needs to be interpreted alongside payment, shipment, cancellation and refund details before deciding how it should appear in Shopify.
For an illustrative paid but unshipped order, the expected Shopify result would be Paid and Unfulfilled. Do not use a blanket rule that maps every “Completed” source order to the same result without reviewing how your team used that status.
- Match the customer, order reference, line-item SKU and quantity.
- Reconcile discounts, shipping, taxes, totals and currency.
- Review partially shipped, refunded, canceled and guest orders separately.
- If order-number preservation is available, verify the displayed reference in a demo. A familiar order number is not the same thing as retaining the platform’s internal record ID.
Blog posts and supporting content
Plan where each BigCommerce post or page will appear in Shopify. Shopify organizes articles within blogs and can use tags for further organization; these are different from product collections.
Check titles, body formatting, images, internal links, SEO fields and publication details against the agreed migration scope. Moving text alone will not repair an embedded link that still points to an obsolete source path.
SEO URL mapping: a before-and-after example
Shopify uses resource paths such as /products/ and /collections/. Keeping a recognizable handle does not mean the complete BigCommerce URL can stay unchanged.
Suppose your existing rain jacket page is /outdoor/rain-jacket.html and its Shopify replacement is /products/rain-jacket. Record that exact pair in your redirect map. For the category, map /outdoor/jackets/ to /collections/jackets if it serves the same browsing intent.
These are illustrative paths, not results from a client migration. In your own URL inventory, include important product, category, blog and content pages, then choose the closest relevant destination for each.

Shopify redirects generally work only when the source path no longer serves a valid page, and reserved paths have additional restrictions. Review Shopify’s URL redirect guidance before importing your map.
- Test the old URL and confirm it reaches the intended destination without a redirect chain.
- Check that the destination loads, is available to shoppers and can be indexed.
- Update internal links to point directly to the new paths.
- Review page titles, meta descriptions, canonical URLs and the sitemap after launch.
Redirects help visitors and search engines find replacement pages. They do not guarantee unchanged rankings: page content, internal linking, availability and the wider site change also affect the outcome.
How to migrate from BigCommerce to Shopify with Next-Cart
Before you migrate BigCommerce to Shopify, back up the source data, prepare the Shopify store and list the fields or workflows that need special handling. The store migration preparation checklist can help your team assign these checks.
Step 1: Connect the source and target stores
Select BigCommerce as the source and Shopify as the destination. Follow the current connection instructions displayed in your Next-Cart setup, provide the requested credentials and test both connections. Keep API credentials private; remove them from any screenshots shared with colleagues.

Step 2: Select data and review mapping decisions
Select the supported entities needed for your project, then review available migration options and mappings. Confirm the scope of custom fields, app data, reviews and any other records that need a destination app or separate configuration.
Use your mapping plan to review collection membership, inventory locations, languages where relevant, order status rules and SEO redirects. Confirm what an order-number option preserves and which post-migration action handles new versus changed records.

Step 3: Run a demo, validate it, then migrate the full data
Run a demo and compare the sample in Shopify with the source. If the sample does not contain your complex products or unusual orders, arrange an additional targeted check before approving the full migration.
Once the mapping behaves as intended, run the full transfer and review the reported results. Investigate failures or skipped records instead of assuming a completed run means every expected record is correct.

Plan a final synchronization for activity that occurs while the source store is still trading. Confirm the appropriate Next-Cart action for new or updated data, then agree on the cutover window and order-handling responsibilities. Data transfer and storefront launch are separate milestones.
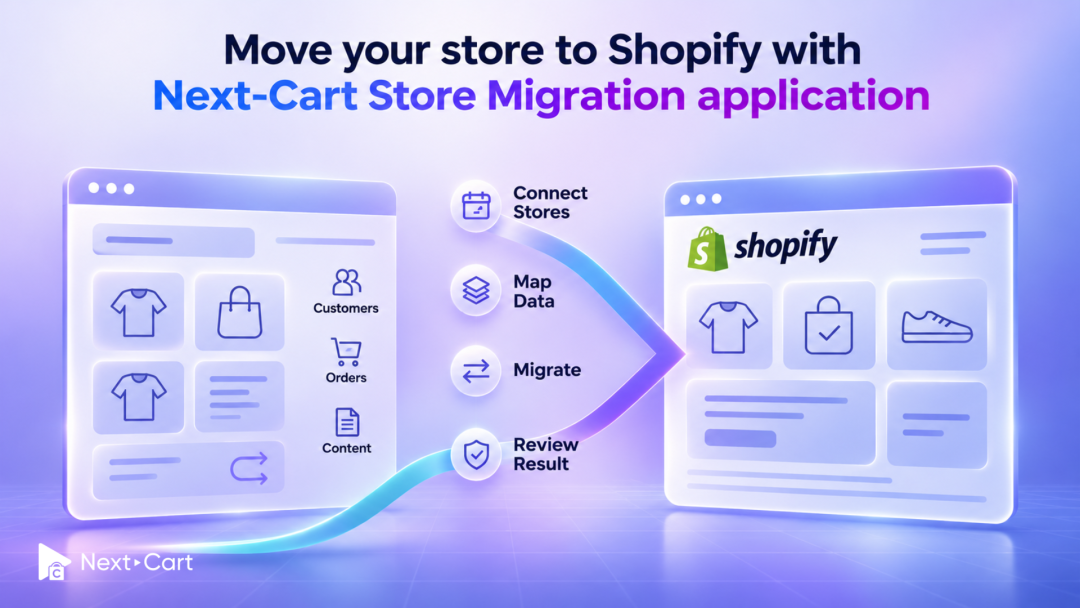
For a broader look at the destination workflow, read Move your store to Shopify with Next-Cart Store Migration application. Use the instructions for your chosen migration service, since the Shopify app and other service workflows can differ.
Before launch: validate the shopping journey
Choose representative records and test them as a shopper and as an operations team member. Keep a short issue log with the source reference, expected Shopify result, actual result and person responsible.
- Catalog: Open simple and complex products; select variants and compare SKUs, prices, images and stock.
- Navigation: Follow the main menu to collections and verify product membership, filters and mobile navigation.
- Customers and orders: Check customer links, addresses, order lines, totals and exceptional statuses.
- Checkout: Place a test order and check payment, shipping, tax, confirmation and fulfillment or integration behavior.
- Content and SEO: Test important redirects, internal links, blog images, page metadata and indexability.
- Launch readiness: Confirm recent-data handling, domain cutover, customer access and who monitors errors after launch.
Rebuild the theme and configure apps, payment methods and shipping rules as needed. These operational settings should not be assumed to arrive with the migrated records. Check mobile usability and page performance using representative product and collection pages.
Post-Migration Adjustments
Completing the data migration is a significant milestone, but it’s only the beginning of building your new Shopify store. Here are the essential steps to take after the migration to ensure everything is running smoothly and set up for success:
1. Verify and organize your data
After migration, it's critical to check that your data has transferred accurately. Here's what to focus on:
-
Products and Categories: Ensure all products are in the correct categories, with proper descriptions, images, and pricing. Double-check that product variants are displayed correctly and match your inventory.
-
Orders and Customers: Confirm that customer profiles, order histories, and addresses have been imported accurately. Ensure that each order accurately reflects the associated products and customers, with all links and details correctly preserved.
-
SEO Settings: Test your URL Path redirects, meta titles, and meta descriptions to ensure they align with your Shopify store's SEO structure. Use Shopify’s built-in SEO tools to fine-tune these settings.
2. Customize Shopify features
Shopify’s robust features require configuration to match your business needs:
-
Themes and Design: Choose a theme that resonates with your brand and customize it to create a unique shopping experience. Use Shopify’s Theme Editor or hire a designer for advanced customization.
-
Apps and Integrations: Enhance your store’s functionality by adding apps for email marketing, inventory management, or customer reviews. Shopify’s App Store offers a wide range of options to suit your needs.
-
Payment and Shipping Settings: Configure your payment gateways (e.g., Shopify Payments, PayPal, Stripe) and shipping options, including rates and zones. Test these features to ensure smooth transactions.
3. Test and optimize your store
Testing your store thoroughly ensures a seamless experience for your customers:
-
Place Test Orders: Simulate customer purchases to verify that payment processing, shipping calculations, and email notifications work as intended.
-
Monitor Website Speed: Use tools like Shopify’s built-in speed report or third-party solutions to check loading times. Optimize images and enable Shopify’s content delivery network (CDN) for better performance.
-
Ensure Mobile Responsiveness: Browse your store on different devices and screen sizes to confirm that the user experience is consistent and user-friendly.
-
Review Analytics: Check Shopify Analytics to monitor traffic, sales, and customer behavior. Use this data to make informed adjustments to your store.
By following these post-migration steps, you’ll ensure your Shopify store is optimized for performance and ready to provide an excellent shopping experience for your customers. Taking the time to fine-tune your store post-migration can make all the difference in achieving long-term success.
Video Tutorial
This video tutorial will help you better understand the data migration process.
[lyte id='_59uE9PIe24' stepSize='+2' /]
Start with a mapping plan, then test it
A reliable migration preserves the meaning of your data: the right SKU belongs to the right variant, customers retain useful order history, and old links lead shoppers to relevant pages.
Review Next-Cart’s BigCommerce to Shopify migration options and start with a demo. If your catalog uses complex modifiers, custom fields or unusual order workflows, share those examples before the full transfer so the mapping can be confirmed.