When managing products in your Shopify admin, you’ll notice three options for categorizing your products: Product category, Product type, and Collections. Here’s a breakdown of each:
- Product category: This is a predefined list of categories standardized for search engines like Google and Facebook. Shopify automatically assigns these to your products based on their attributes.
- Product type: This serves as an alternative to Product categories. It allows you to categorize products into a custom category that may not be included in Shopify’s predefined list.
- Collections: Collections are the most powerful tool for categorizing products. They function similarly to product categories on other eCommerce platforms like WooCommerce or BigCommerce. Collections allow you to group your products together based on relationships such as one collection to many products or many collections to one product. Therefore, collections are the best option for organizing products on your online store.
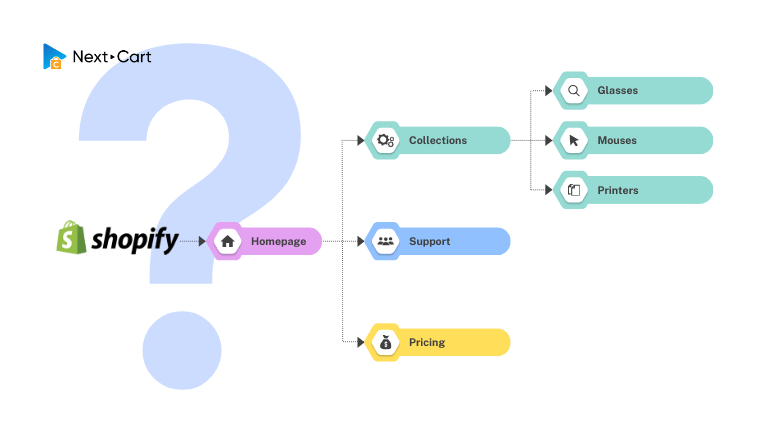
When using Next-Cart’s migration tool to move products and categories from your online store to Shopify, product categories will be transferred as collections and associated with products. However, the main challenge we encounter is that all collections are organized in a flat structure without any hierarchy. This is because Shopify does not support parent-child relationships for collections.
To address this, our migration tool automatically creates a hierarchical menu to preserve your category structure. Additionally, you can use Shopify navigation to create dropdown menus, linking menu items to collections, thus creating nested relationships between collections.
So, how do you do that? Let’s dive into the step-by-step guide below.
Create a Multi-level menu for Collections
- From your Shopify admin, navigate to Content > Menus.
- Choose the menu you want to use for your collections. You can select the Main menu or create a new one.
- On the menu setup page, click Add menu item. Enter the name and choose the path to the collection you want to add. Then click Add. Repeat this step to add all the necessary collections to your menu.
- Once you’ve added all the collections to the menu, hover over the left-hand icon of the menu item (…), then drag and drop to nest them. Note that the top-level item can have a maximum of two levels of nested menus.
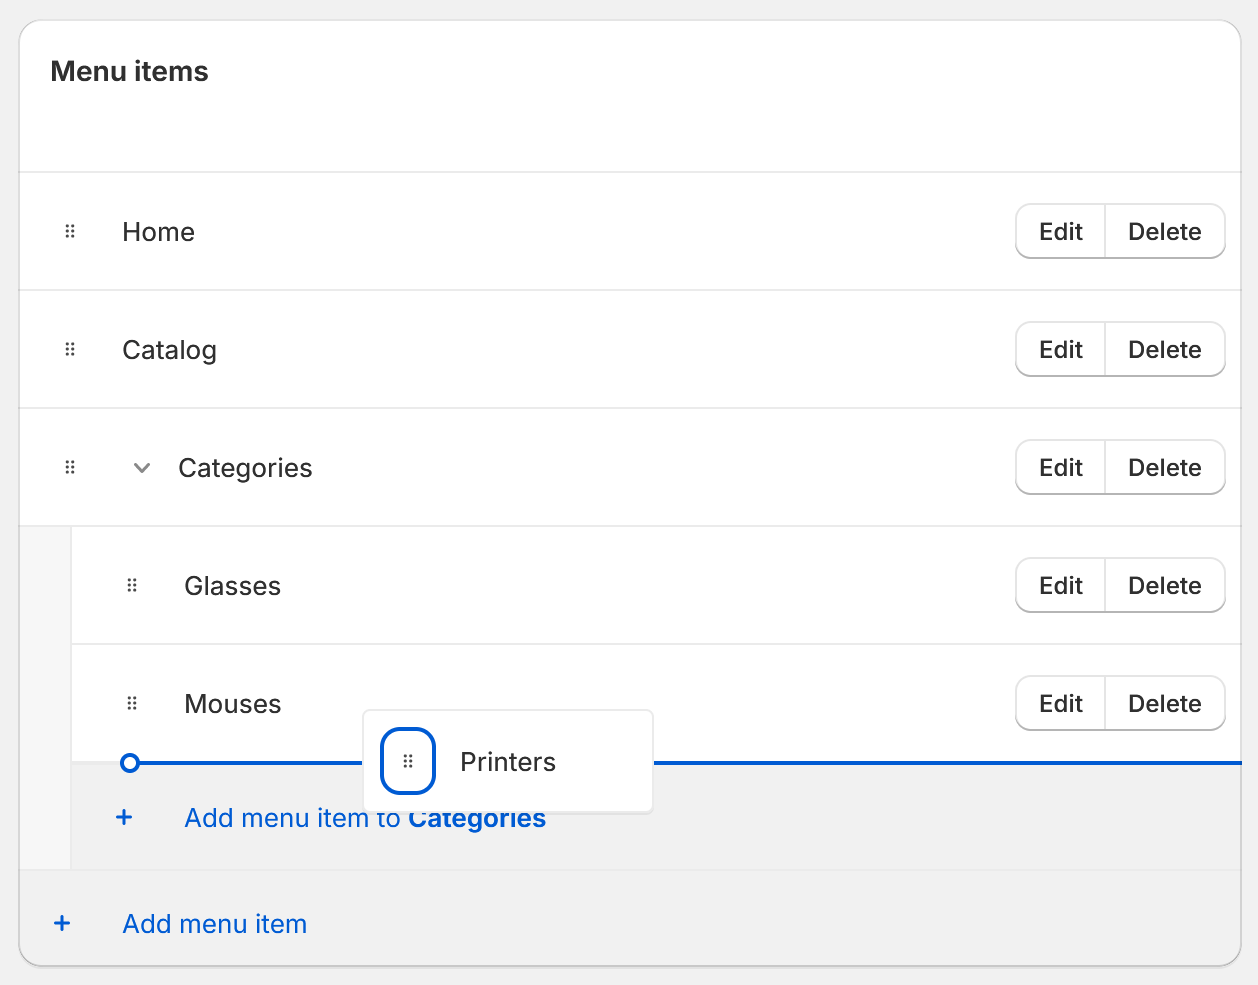

Shopify Nested Menu – Drag and Drop
- After nesting the menu items of the collections, click Save menu. Your menu will now display nested product categories on the storefront.
The only limitation of this method is that you can only have a maximum of three levels of nested categories. If your store has a more complex structure and requires more nesting levels, consider opting for a Mega menu app for your Shopify store.