You probably have read a bunch about eCommerce and the potential of revenue this industry can earn.
What you need first hand is a working online store. If you ask Google the best online cart to build an internet shop, Shopify will pop out in the top result.
But there is a barrier.
You are not a technical avid. Working with a virtual store involves some coding and web development skill, or so you heard. So, how can you overcome this struggle?
Relax! To set up a Shopify store is easier than you thought, but you need a proper guide.
Look no further. Your A to e-Z guide is right below.
How to set up a Shopify store
Long short story, I assume you know the advantage when using Shopify for your store. Let’s move on to setting up your first base of money land that looks stunning without taking a course of web design.
It all starts with step 1.
1. Registration
If you haven’t had an account. This link here will give you 14-days trial instead of signing up on the site, and after that, you will save 10% off for your first year.
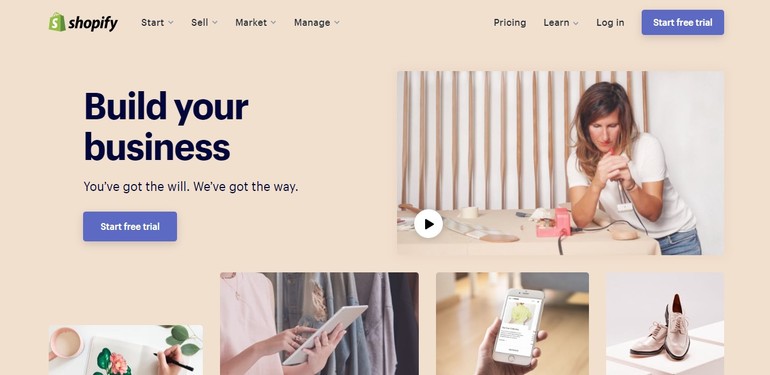
Keep on filling the required fields. Make sure you know what you’re selling already. When you’re done submitting, let Shopify do their things. It’s a preload of all the default settings.
2. Choose a theme
This is your home page, and your customer will look at it. So, you want to make it interactive and attractive to your buyers. Think of a theme.
How do you want your home to look like when someone visits it? Colorful? Indicative? Full of visual?
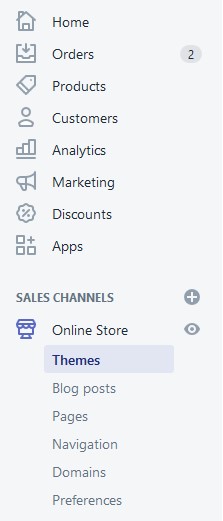
On the left navigation, click online store. It leads to Themes. By default, it gives you a theme called debut. You can click on Preview and look at the template it offers.
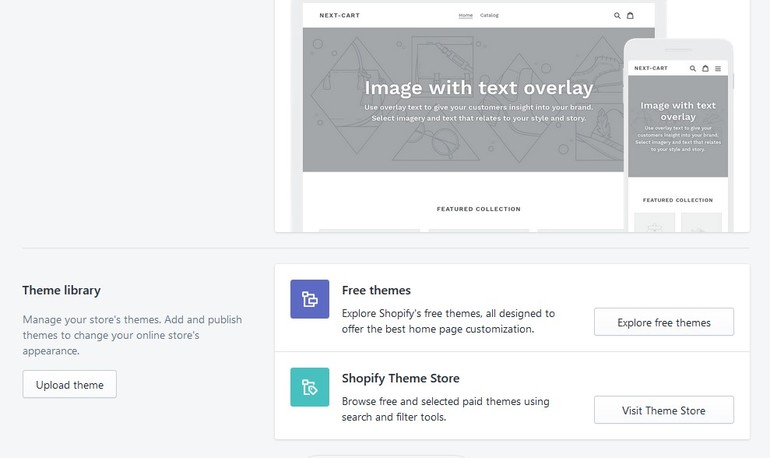
It’s ok if you want to practice on a different blueprint. But you can explore more of free and paid themes by visiting the theme store.
You can also import themes from a third-party provider and activate it.
Once you’re happy with the layout, move on to the next step.
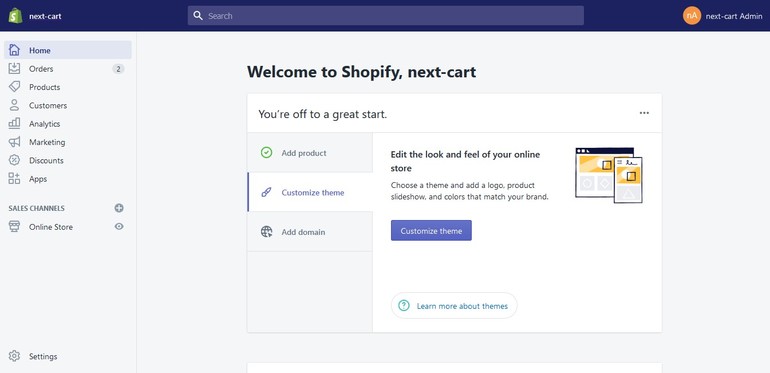
3. Customize theme appearance
On the main dashboard, you can find the Customize the Look of Your Site button. You will find all the options to tailor your shop from colors, logos, fonts, and so on.
4. Create your online store
In Shopify, you manage products with collections. If you have to start it from scratch, you will need to create a layout of categories and add products manually one by one. However, the process is simple, thanks to the indicative navigation.
Additionally, you will need to outline your site with pages, blog posts, and articles. This organizing task will take some time, depending on your preference. But it can all be done with buttons on this novice-friendly platform.
Proceed to the left bar in the main dashboard, here are what you can do:
- Manage orders
- Add products
- See your clients
- View analytics
- Create marketing campaigns
- Boost sale with promoting creating tools
- Add extensions
5. Activate payment gateway
There is an area that allows you to add payment methods such as Stripe, Paypal, or Amazon.net. Otherwise, you can use Shopify default payment processor.
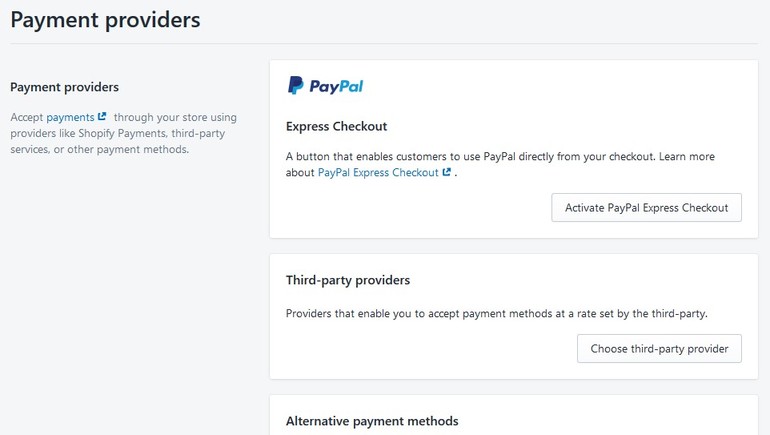
Install the checkout is simple. Just follow the steps on the screen to activate the payment gateway.
6. Choose your domain name
Right after registering to Shopify, you will get a default domain at nameofyourstore.myshopify.com.
But you don’t want this name to be an official name when you launch your store.
If you are not ready for a domain, keep editing your store and come back later.
Once your shop looks fine to go online, you can jump to buy cheap domain at NameSilo or NameCheap.
Then, you will need to direct the domain to Shopify or buy right from the platform which will be introduced in the next step.
7. Connect your domain name
You will have three options in this setup process. One is to buy a new domain right on the platform. The other one lets you link your purchased domain to Shopify. Another one is transferring your working domain and stuff in it to the new store on Shopify.
Let me walk you through all three methods.
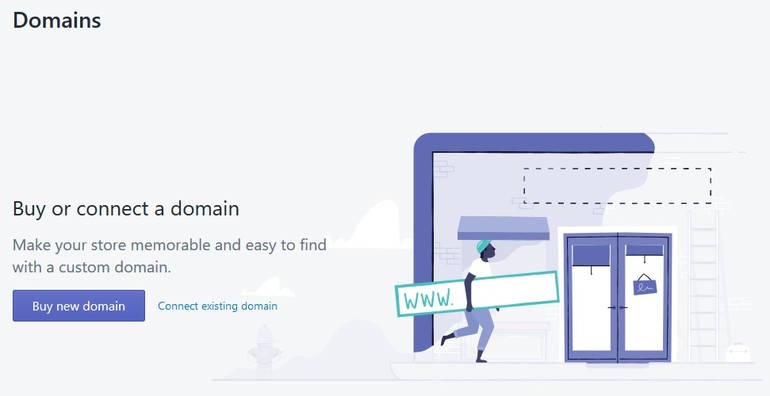
Buy new domain
This step is easy. On the Shopify admin, go to Settings > Domains, then select Buy new domain.
Now. Think about your brand identity and see if it’s available. If the site name is vacant, you can buy it within a few clicks. You can also add domain extensions, and premium extensions for special occasions like sales, clearance, or Black Friday.
Buying a domain through Shopify means you have it set up automatically for your store. You will keep the ownership for one year. If you pay to extend the subscription, your property is still there even in the case you leave Shopify.
When you’re done selecting the domain, the next page will require your credit card information. Confirm all information in the next step. Don’t forget to check the WHOIS Privacy tick-box to keep your personal contact discreet before hitting Buy Domain button.
**Domains purchased are non-refundable
You will receive several emails confirming your purchase asking to verify your information. Follow the steps to finish registration.
It may take up to 48 hours to activate your domain. Once it’s got ready to use, you will see the status change to a green Connected icon.
Now, it’s time to change the primary domain to the one you just purchased. In the Domain tab, click Change primary domain, select the Shopify-managed domain in the pop-up window and Save. Your custom domain is now active.
Connect a third-party domain
Considering that you bought the domain from an outside provider. On the left side of the directory bar, go to Settings > Domains. Choose Connect existing domain, then put in the domain you have and Next.
It will prompt you on how to set everything up. This step is a bit confusing because each provider provides different steps to set up. From here it gets a little bit technical.
There is one that called DNS which associates your domain(s) and subdomain(s) with an internet location. There are three DNS records you need to update your Shopify store.
- A record (address/host record): This will point your custom domain name to Shopify IP address
- CNAME (canonical name): Point subdomain(s) to your Shopify store
- MX record (mail exchange record): Redirect emails sent to your third-party email domain
In order to change these DNS records, you need to log into your DNS provider’s site and update the information.
What you need to do now is to put in an A record and a CNAME record for the domain name you want to connect to your Shopify store. It’s actually quite simple:
- From your DNS service, select the domain you want to connect
- Edit the A record to point it to the Shopify IP address:
23.227.38.65 - Edit the CNAME record to point www to
shops.myshopify.com - Back to Shopify admin, click Verify connection
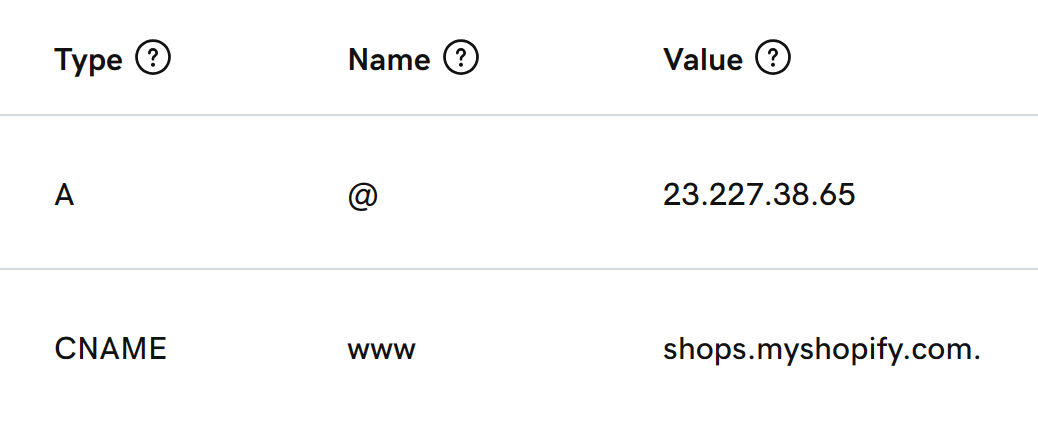
Shopify DNS records
It may take several hours for this directing to be done. You can refresh to check on Shopify if all statuses turn green.
From here, you can change the primary domain to the third-party domain connected.
Transfer a domain
Transferring a domain to Shopify works the same way as connecting a new domain. But I don’t recommend this option because once you move the “old home” to the “new one”, Shopify will manage that domain on their base hosting making your store to be subsidiary to the platform. In addition, this process will also affect your other DNS settings, including subdomains, emails, etc. Reconfiguring all these DNS records can bring you a lot of trouble and disrupt your work.
In the long run, transferring is not beneficial when you want to move to a new platform. That said, I only advise my clients to manage domain and hosting separately.
8. Look back
Now your site ready to go online. But it’s important to re-check everything and make sure it’s got some contents before you index on Google.
Besides, you will need to optimize on-page SEO to make your site friendly with Google search. But that’s another story.
From here, reorganize the pages, menus, and layouts to have the best navigation on-site that won’t make your clients confused.
Remember that you can always preview the site to see how it looks from a customer’s view so that you can edit and customize.
9. Select a plan
To continue using Shopify officially, check out the plans you can follow to have full access to all the features in the platform.
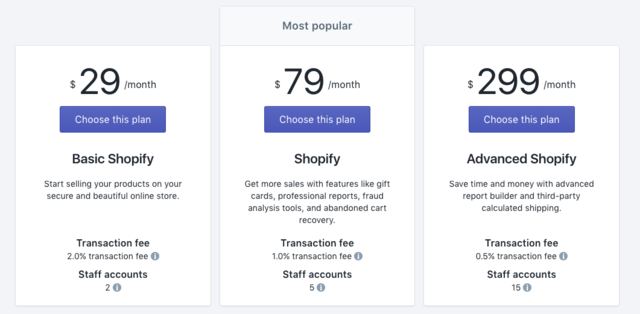
Pricing for Shopify varies in 3 options: Basic Shopify, Shopify, and Advanced Shopify. You can check what comes with each plan here.
10. Publish the store
If you feel happy with the store, time to skyrocket it.
To do this, go to the Online Store. In the Themes section, click on Disable password to unlock your site for people to visit.
Note that to remove the password for the page, you need to subscribe for a plan first.
Your store is live
Congratulations! You can start making money with a store on Shopify now.
Try to take advantage of features integrated and build an attractive store to compete.
If you are planning to migrate your online store to a new Shopify store, our Shopify migration tool will help you do that with ease.